
Feathery, full and fabulous: Meet the brow lamination.
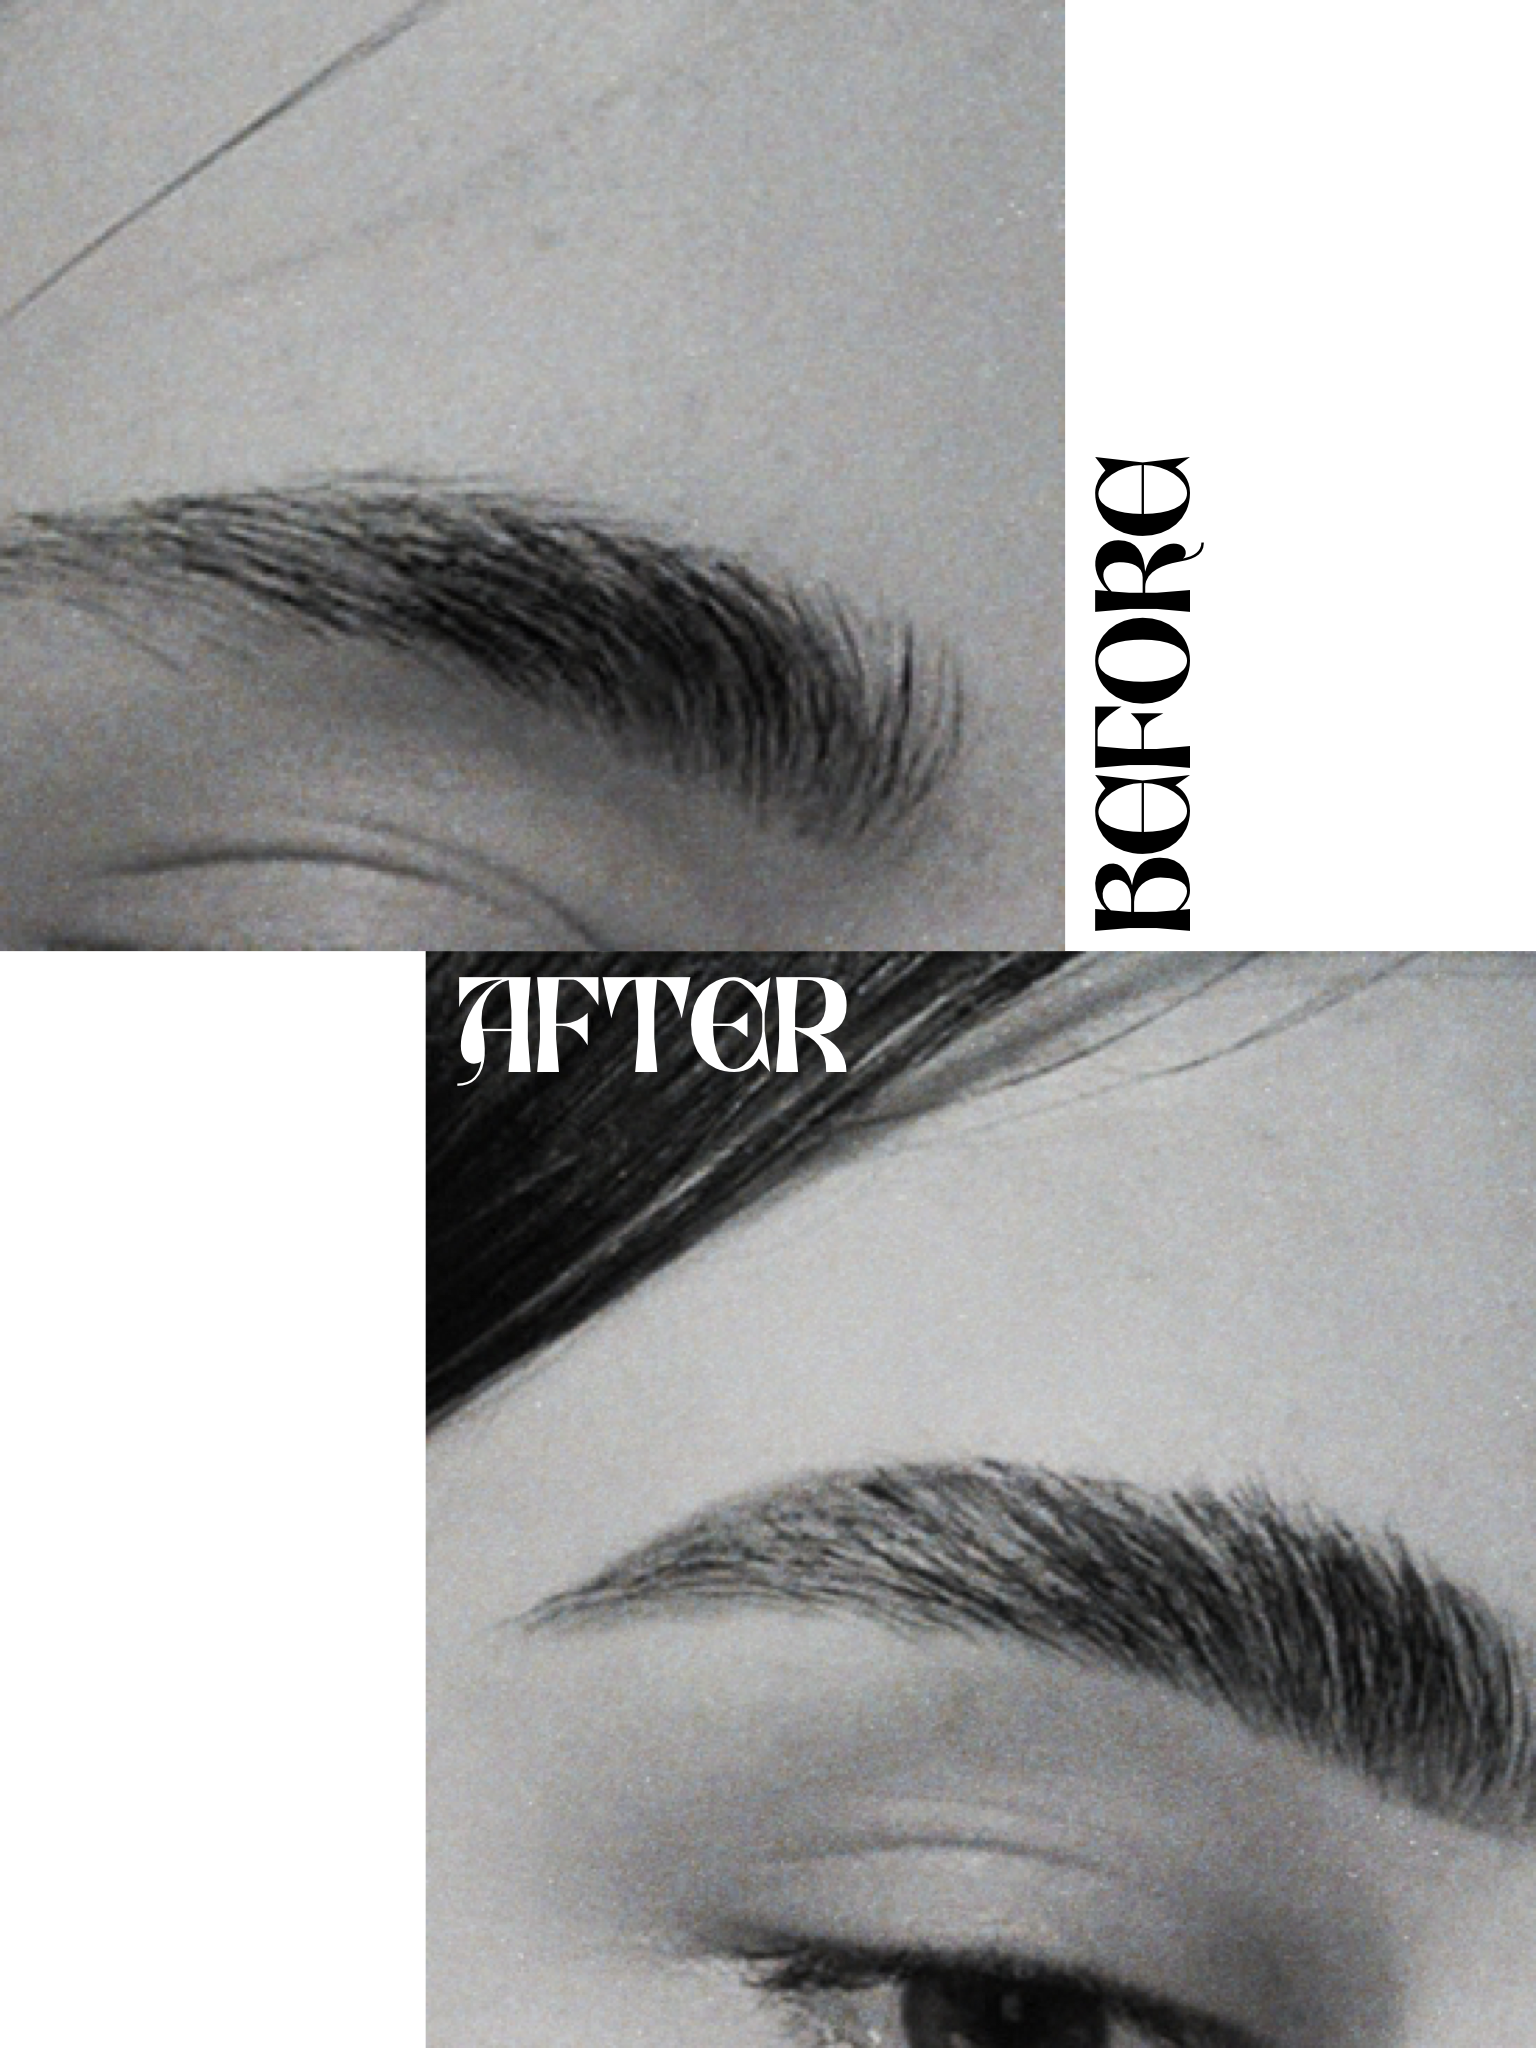
Brow laminations are slowly becoming one of my favourite services to perform on clients and one of the most satisfying to look at. Essentially a perm / lift for your brows, the process is quick, non-invasive and gives the illusion of fuller, fluffier and hydrated brows that look sleek and held in place naturally without tattooing anything. Brow laminations hold their unique place in the beauty world right now as the process is quickly becoming a go-to alternative for those who want to forget about 20-minute-brow-drawing filled mornings and embrace their natural brows. The best part about the lamination? It’s semi-permanent and lasts four to six weeks. Even though they’re laminated to stay lifted and sleek, they’re still pliable to move around to your desired look. (I’ll break down the process later).
Originated in Russia, brow laminations have quickly made their way to the western world of beauty becoming one of the most simple yet fascinating service for estheticians to perform and clients to receive. The easiest way I’d describe a brow lamination? It holds your brows in place. Even upward hair direction with the look of a sleek brow gel coating. Effortless.

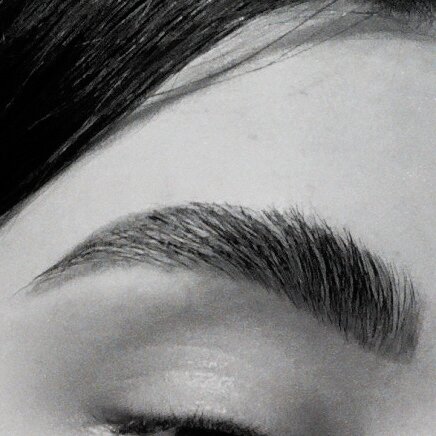
4 weeks post-lamination. (Hi, it’s me!)
Who is the ideal client for a brow lamination? Pretty much everyone. (Yes, even if you have thinner brows!)
The look of a bushy brow has taken the world by storm with a desire to have them permed like that effortlessly. If you’re looking to embrace your natural brows while adding dimension in a non-invasive way (unlike microblading), well, the service is for you.
The first time I performed a brow lamination, I did it on myself. And… the results were delish.
Here are the steps broken down in bullet-point form so you can understand the typical process (and how I perform it on my clients!)
Step 1 — Prepare the brows by cleansing them.
Step 2 — Brush through with a spooley.
Step 3 — Apply perming solution, let it sit.
Step 4 — Place the brows (laminate) them with the spooley in your desired direction.
Step 5 — Wrap the brows flat.
Step 6 — Neutralizing solution.
Step 7 — Tint (if desired).
Step 8 — Shape and wax (if desired).
And we’re done!
Aftercare:
Brush through your brows with a spooley at least once or twice a day for the first five days after your appointment. To ensure healthy brow hair, conditioning with an oil is recommended after the first 24 hours as it’s recommended to avoid water on the brows for that time frame.
The process can take anywhere around 35 to 45 minutes depending what the client is looking for and needs with their hair. Prices vary by place, but a usual brow lamination will cost you anywhere from $90.00 to $110.00.
(Please come with your brows completely untouched or as natural as possible. Avoid any plucking as you really want to maximize your results!)
From an esthetician POV , it’s best recommended to get the treatment done by a professional as at-home laminations can cause irritation or reactions if not prepared or researched properly. Timing is everything in a brow lamination process especially with the perming solution.
Q&A
Is the brow lamination similar to microblading?
No in the sense that it’s non-invasive and doesn’t fill in gaps with tattooed hair-like strokes like microblading does, but the effect of the laminated brow placement with the perm and tint gives the look of a beautiful, fluffy brow.
But why do theirs look fuller and fluffier than mine?
Baby, no four brows are the same! Results will vary. The end result of a fuller brow is what we’re aiming for!
Will it irritate my skin?
No, it shouldn’t if done properly by an esthetician or professional who has training to perform the service! Although trained, we can’t control if clients react to the solutions or products used during the service like it would any other. That’s why it’s always important and key to mention if you have any allergies, are using retinol and other possible skin irritants. Remember your SPF!
What would you say is a downside to the lamination process?
Well, it IS a perming solution, right? So, the hair could possibly dry out a bit which is why it’s key to condition the brows! (Olive oil works great in this case).
Is it safe for pregnancy?
I always recommend talking to your doctor before booking a brow lamination appointment.
What if they’re too fluffy and bushy for my liking?
Breathe! You can play around with the direction of the hairs. It’s not permanent. (But also, why else would you be getting a brow lamination anyway?!)
How often should I rebook?
If this is a service you’re looking to upkeep, I’d recommend rebooking every six weeks.
Can I still use a brow gel or pencil overtop?
Yup! Wait 24-48 hours.
If you have any further questions or want to book an appointment with me, feel free to shoot me an email over at despina@desseydoll.com and I’ll get back to ya as soon as I see it!
Let’s talk all things brows over on my Instagram @desseydoll! (Check out my “Client Love” highlight to see some results!)